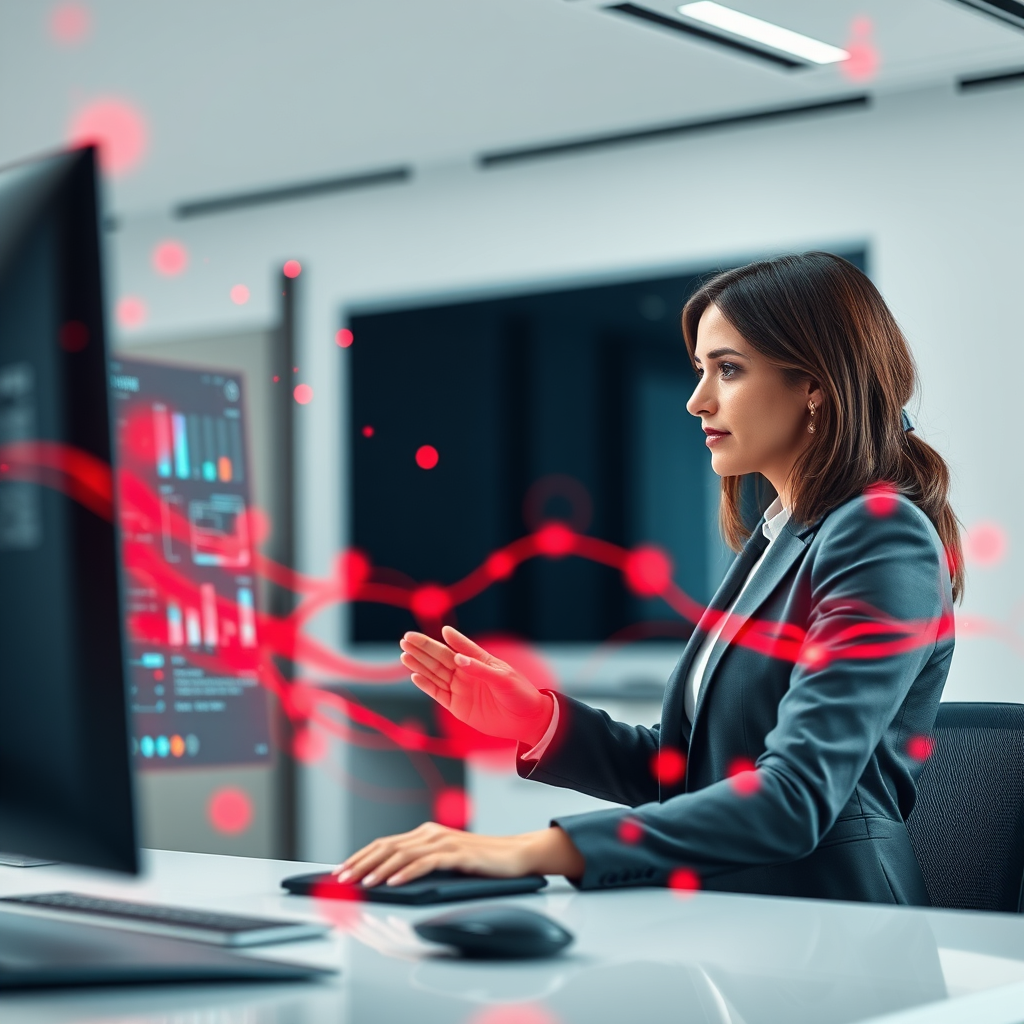
[Smart Work]10. 상상력을 현실로! 미드저니로 블로그, 보고서 고품질 이미지 만들기 (Unlock Your Imagination: High-Quality Images for Blogs & Reports with Midjourney)
안녕하세요! IT 기획 팀장으로서 늘 업무 효율과 생산성을 고민하고 있답니다. 특히 블로그나 보고서에 쓸 이미지를 찾을 때마다 고민 많으셨죠? 😓 저도 그랬어요. 적절한 이미지를 찾거나 만드는 데 드는 시간과 노력이 만만치 않았거든요. 그런데 AI 이미지 생성 툴, 미드저니(Midjourney)를 만나고는 이 고민이 싹 사라졌답니다! 마치 손안에 나만의 AI 디자이너가 생긴 기분이에요. 저는 이 툴을 활용해서 팀 주간 보고서부터 신규 프로젝트 제안서, 그리고 여러분이 보고 계신 이 블로그의 대표 이미지까지 다양하게 활용하고 있어요. 오늘은 여러분의 '칼퇴'를 돕는 이 마법 같은 도구, 미드저니의 기본 사용법부터 고품질 이미지를 만드는 꿀팁까지, 제 경험을 녹여 친절하게 알려드릴게요. 함께 미드저니의 세계로 떠나볼까요? 🚀
🎨 미드저니(Midjourney), 왜 주목해야 할까요?
미드저니는 텍스트 설명을 그림으로 바꿔주는 AI 이미지 생성 툴이에요. '프롬프트'라고 부르는 몇 줄의 글만 있으면, 상상조차 못했던 수준의 이미지를 뚝딱 만들어냅니다. 블로그 포스팅, 보고서 표지, 마케팅 자료, 심지어 개인 창작물까지, 어디든 활용할 수 있는 맞춤형 이미지를 쉽고 빠르게 얻을 수 있다는 게 가장 큰 장점이죠. 과거 복잡하고 시간 소모적이던 이미지 제작 과정이 혁신적으로 단축되니, 시간과 비용을 절약하면서도 퀄리티는 월등히 높아집니다. 스마트 워크의 필수템이라고 할 수 있어요!
미드저니는 디스코드(Discord)라는 채팅 플랫폼 기반으로 작동해요. 그래서 사용하려면 디스코드 계정이 필요하고, 미드저니 서버에 가입해야 합니다. 처음엔 조금 복잡하게 느껴질 수 있지만, 몇 번 해보면 금방 익숙해질 거예요!
🚀 첫 발 내딛기: 미드저니 기본 사용법
미드저니 사용은 정말 간단해요. 기본적으로 /imagine 명령어를 사용하는 것이 전부입니다. 미드저니는 디스코드(Discord) 기반으로 작동하며, 미드저니 서버에 가입해야 해요. 미드저니 서버의 #newbies 채널이나 전용 봇과의 DM에서 아래와 같이 입력해 보세요.
기본 프롬프트 예시 📝
디스코드 채팅창에 아래와 같이 입력해 보세요.
/imagine prompt: a cute robot assisting an office worker, warm lighting, modern office, professional, high detail, digital art이렇게 입력하면 몇 초 뒤 미드저니가 4개의 이미지를 생성해줍니다. 각 이미지 아래 U (Upscale) 버튼은 고해상도 확대를, V (Variations) 버튼은 선택한 이미지와 유사한 변형을 만들어요. 🔄 버튼은 같은 프롬프트로 이미지를 다시 생성하는 기능이니 참고하세요!
💎 퀄리티 UP! 미드저니 프롬프트 작성 꿀팁
그냥 텍스트를 입력하는 것만으로도 놀랍지만, 몇 가지 팁만 알면 훨씬 더 전문적이고 원하는 이미지를 정확하게 얻을 수 있어요. 제 경험상 가장 중요한 건 바로 '구체적인 묘사'와 '스타일 지시'입니다. 막연하게 '건물'이라고 입력하기보다는 '비가 오는 밤, 네온사인 간판이 빛나는 홍콩의 복잡한 뒷골목'처럼 세부적인 요소들을 더해주는 거죠. 그럼 미드저니가 여러분의 상상력을 훨씬 더 풍부하게 구현해 줄 거예요!
🌟 핵심 키워드와 구체적인 묘사
단순히 '나무'보다는 '울창한 숲 속의 고목, 새벽 안개, 햇살이 비치는, 판타지 분위기'처럼 자세히 묘사할수록 미드저니가 더 정확하게 이해합니다. 주어(대상), 동사(행동), 부사(상태), 형용사(특징)를 풍부하게 사용해 보세요.
| 구성 요소 | 설명 | 예시 |
|---|---|---|
| 주제/대상 | 무엇을 그릴 것인가? | futuristic city, golden retriever puppy |
| 스타일/장르 | 어떤 그림체로 그릴 것인가? | fantasy art, cyberpunk, oil painting, watercolor |
| 세부 묘사 | 색상, 분위기, 구성 등 | vibrant colors, serene atmosphere, high detail, close-up shot |
| 매개변수 | 이미지 비율, 품질, 스타일 등 | --ar 16:9, --q 2, --s 750 |
🎨 특정 스타일 지정하기
'디지털 아트', '수채화', '유화', '3D 렌더링', '사진 같은(photorealistic)' 등 명확한 스타일 키워드를 사용하면 원하는 분위기를 쉽게 연출할 수 있어요. 특정 아티스트나 미술 사조를 언급하는 것도 좋은 방법입니다. (예: 'by Van Gogh', 'Miyazaki style')
📏 매개변수(Parameter) 활용하기
프롬프트 뒤에 --를 붙여 매개변수를 추가하면 이미지의 특성을 조절할 수 있습니다.
- --ar (Aspect Ratio): 이미지의 가로세로 비율을 지정합니다. (예:
--ar 16:9블로그/보고서 배경) - --q (Quality): 이미지 생성 품질을 조절합니다. 숫자가 높을수록 디테일이 살아납니다. (예:
--q 2고품질) - --s (Stylize): 미드저니의 '예술성' 강도를 조절합니다. 높을수록 미드저니 특유의 스타일이 강해져요. (예:
--s 750) - --no (Negative Prompt): 프롬프트에 포함된 특정 요소를 이미지에서 제외하고 싶을 때 사용합니다. (예:
--no trees나무 없는 풍경)
너무 많은 키워드를 한 프롬프트에 넣으면 AI가 혼란스러워할 수 있어요. 핵심적인 내용 위주로 간결하게 작성하고, 필요한 경우 점진적으로 추가하거나 수정하는 것이 좋습니다.
📊 업무에 바로 적용하는 미드저니 실전 활용 가이드
이제 미드저니로 어떤 이미지를 만들 수 있는지 실제 업무 사례로 살펴볼까요? 저 역시 미드저니를 적극 활용하며 결과물의 전문성과 주목도가 달라지는 것을 체감하고 있습니다.
- 블로그 포스팅 이미지: 글의 내용을 함축적으로 보여주는 대표 이미지나, 각 섹션의 분위기를 살리는 삽화로 활용하세요. 독자의 시선을 사로잡아 체류 시간을 늘릴 수 있습니다. (예시 프롬프트: 'A person writing on a laptop, surrounded by floating creative ideas, vibrant, minimalist, digital art --ar 16:9')
- 보고서 및 제안서: 딱딱한 보고서에 생기를 불어넣는 표지 이미지, 중요한 데이터를 시각적으로 표현하는 인포그래픽 스타일 이미지 등 전문성을 더해줍니다. 복잡한 개념 설명 시 추상적인 아이디어를 시각화하는 데 탁월해요. (예시 프롬프트: 'AI statistics dashboard, glowing lines, futuristic, clean, data visualization --ar 4:3 --q 2')
- 마케팅 및 소셜 미디어 콘텐츠: 캠페인에 맞는 독창적인 이미지를 빠르게 제작하여 시간과 비용을 절약할 수 있습니다. 트렌디한 이미지로 잠재 고객의 이목을 집중시켜 보세요. (예시 프롬프트: 'Young people happily interacting with a virtual reality headset, vibrant colors, street photography style, bokeh background --ar 1:1')
💡 미드저니, 이것만은 꼭! (자주 묻는 질문)
글의 핵심 요약 📝
지금까지 미드저니를 활용해 블로그와 보고서의 퀄리티를 높이는 방법에 대해 알아봤어요. 딱 세 가지만 기억하시면 됩니다!
- AI 이미지 생성의 무한한 가능성: 미드저니는 간단한 텍스트 프롬프트만으로 놀라운 퀄리티의 이미지를 만들어줍니다.
- 구체적인 프롬프트와 매개변수: 원하는 이미지를 얻기 위해서는 주어, 동사, 스타일, 그리고
--ar,--q,--s,--no같은 매개변수를 활용하여 디테일하게 묘사하는 것이 중요해요. - 다양한 업무 활용: 블로그 포스팅, 보고서, 마케팅 자료 등 다양한 업무에 적용하여 시각적 전문성을 높이고 시간과 노력을 절약할 수 있습니다.
미드저니 핵심 요약 🌟
- AI 이미지 생성: 텍스트로 고품질 이미지를 손쉽게 만듭니다.
- 프롬프트 마스터: 구체적인 묘사와 매개변수로 완벽한 이미지를 생성합니다.
- 업무 효율 극대화: 블로그, 보고서, 마케팅에 AI 이미지를 활용해 스마트 워크를 실현합니다.
어떠세요? 미드저니, 생각보다 어렵지 않죠? 이제 여러분도 IT 기획 팀장인 저처럼 AI 비서를 활용해 업무 효율을 한 단계 끌어올릴 수 있답니다. 블로그에 올릴 근사한 이미지, 보고서에 넣을 설득력 있는 비주얼을 미드저니로 뚝딱 만들어보세요. 분명 여러분의 '칼퇴'에 큰 도움이 될 거예요! 😉 더 궁금한 점이 있다면 언제든지 댓글로 질문해주세요! 함께 스마트하게 일하며 성장해요! 🌱
본 가이드는 일반적인 정보 제공을 목적으로 하며, 미드저니의 기능 및 정책은 변경될 수 있습니다. 최신 정보는 공식 웹사이트를 참고해주세요.
Hello everyone! As an IT Planning Team Lead, I'm constantly thinking about work efficiency and productivity. Have you ever struggled with 'what image should I put?' every time you wrote a blog post or report? 😓 I certainly did. Finding or creating suitable images always took considerable time and effort. But all that changed after I discovered Midjourney, the AI image generation tool! It feels like having my own AI designer at my fingertips. I've used this tool for various purposes, from covers for my team's weekly reports to illustrations for new project proposals, and even the main image for this very blog post. Today, through this article, I'll share my experience and guide you through the basics of Midjourney – a magical tool that helps you leave work on time – all the way to tips for creating high-quality images. Shall we dive into the world of Midjourney together? 🚀
🎨 Midjourney, Why Should We Pay Attention?
Midjourney is an AI image generation tool that transforms text descriptions into visuals. With just a few lines of text called 'prompts', it can create images of an unimaginable quality. The biggest advantage is that you can easily and quickly obtain custom images for anything from blog posts, report covers, marketing materials, to even personal creative works. The previously complex and time-consuming image creation process is now revolutionarily shortened, saving time and cost while significantly enhancing quality. It's truly an essential tool for smart work!
Midjourney operates on the Discord chat platform. Therefore, you need a Discord account and must join the Midjourney server to use it. It might seem a bit complicated at first, but you'll get the hang of it quickly!
🚀 Taking the First Step: Midjourney Basic Usage
Using Midjourney is incredibly simple. Basically, it's all about using the /imagine command. Midjourney operates on the Discord platform, so you'll need a Discord account and to join the Midjourney server. In the #newbies channel or a direct message with the bot, try typing the following:
Basic Prompt Example 📝
Try typing the following in the Discord chat window:
/imagine prompt: a cute robot assisting an office worker, warm lighting, modern office, professional, high detail, digital artAfter typing this, Midjourney will generate four images in a few seconds. Below each image, the U (Upscale) button enlarges a specific image to high resolution, and the V (Variations) button creates similar variations of the selected image. The 🔄 button allows you to regenerate images with the same prompt, so feel free to retry if you don't like the results!
💎 Quality UP! Midjourney Prompt Writing Tips
While simply typing text is amazing, knowing a few tips can help you get much more professional and precise images. In my experience, the most important aspects are 'specific description' and 'style instruction'. Rather than vaguely typing 'building', try adding detailed elements like 'a complex back alley in Hong Kong at night, glowing neon signs, rainy streets, reflections'. Midjourney will then bring your imagination to life much more richly!
🌟 Key Keywords and Specific Descriptions
Rather than just 'tree', describing it as 'an ancient tree in a dense forest, morning fog, sunlight filtering through, fantasy atmosphere' helps Midjourney understand more accurately. Try using plenty of nouns (subject), verbs (action), adverbs (state), and adjectives (characteristics).
| Component | Description | Example |
|---|---|---|
| Subject/Object | What to draw? | futuristic city, golden retriever puppy |
| Style/Genre | What art style? | fantasy art, cyberpunk, oil painting, watercolor |
| Detailed Description | Colors, mood, composition etc. | vibrant colors, serene atmosphere, high detail, close-up shot |
| Parameters | Aspect ratio, quality, stylization, etc. | --ar 16:9, --q 2, --s 750 |
🎨 Specifying a Particular Style
Using clear style keywords like 'digital art', 'watercolor', 'oil painting', '3D rendering', or 'photorealistic' can easily create the desired atmosphere. Mentioning specific artists or art movements is also a good strategy. (e.g., 'by Van Gogh', 'Miyazaki style')
📏 Utilizing Parameters
You can control image characteristics by adding parameters after the prompt with --.
- --ar (Aspect Ratio): Specifies the image's aspect ratio. (e.g.,
--ar 16:9for blog/report backgrounds) - --q (Quality): Adjusts the image generation quality. Higher numbers result in more detail. (e.g.,
--q 2for high quality) - --s (Stylize): Adjusts Midjourney's 'artistry' intensity. Higher values emphasize Midjourney's unique style. (e.g.,
--s 750) - --no (Negative Prompt): Use this to exclude certain elements from the image specified in the prompt. (e.g.,
--no treesfor a treeless landscape)
Too many keywords in one prompt can confuse the AI. It's best to start concise with core information and then gradually add or modify as needed.
📊 Midjourney Practical Application Guide for Work
Now, let's look at real-world work examples of how you can create images with Midjourney. I actively use Midjourney, and I truly feel a noticeable difference in the professionalism and attention-grabbing power of the results.
- Blog Post Images: Use them as representative images that encapsulate your post's content or illustrations that enhance each section's atmosphere. This can captivate readers and increase dwell time. (Example prompt: 'A person writing on a laptop, surrounded by floating creative ideas, vibrant, minimalist, digital art --ar 16:9')
- Reports and Proposals: Add professionalism with cover images that enliven dry reports, or infographic-style images that visually represent important data. It excels at visualizing abstract ideas when explaining complex concepts. (Example prompt: 'AI statistics dashboard, glowing lines, futuristic, clean, data visualization --ar 4:3 --q 2')
- Marketing and Social Media Content: Quickly produce unique images tailored for campaigns, saving time and cost. Captivate potential customers with trendy visuals. (Example prompt: 'Young people happily interacting with a virtual reality headset, vibrant colors, street photography style, bokeh background --ar 1:1')
💡 Midjourney, Just This! (Frequently Asked Questions)
Core Summary 📝
So far, we've explored how to enhance the quality of blogs and reports using Midjourney. Just remember these three things!
- Infinite Possibilities of AI Image Generation: Midjourney creates astonishingly high-quality images with simple text prompts.
- Specific Prompts and Parameters: To get the image you want, it's crucial to describe it in detail using subjects, verbs, styles, and parameters like
--ar,--q,--s,--no. - Diverse Work Applications: Apply it to various tasks such as blog posts, reports, and marketing materials to enhance visual professionalism and save time and effort.
Midjourney Core Summary 🌟
- AI Image Creation: Easily create high-quality images from text.
- Prompt Mastery: Generate perfect images with specific descriptions and parameters.
- Maximize Work Efficiency: Achieve smart work by using AI images for blogs, reports, and marketing.
How was it? Midjourney isn't as difficult as you thought, right? Now, you too can boost your work efficiency to the next level, just like me, an IT Planning Team Lead, by utilizing an AI assistant. Easily create splendid images for your blog and persuasive visuals for your reports with Midjourney. It will definitely be a great help for you to 'leave work on time'! 😉 If you have any further questions, feel free to leave a comment! Let's grow together while working smartly! 🌱
This guide is for general informational purposes only, and Midjourney's features and policies are subject to change. Please refer to the official website for the latest information.
댓글
댓글 쓰기